How to Write Your Own Browser Testing Framework
This project started very small when I tried to automate the process of
generating demo clips for my web framework
Lona. Still,
it spiraled out of control pretty fast, into a full-blown framework and
reverse-engineering project.
This will be a blog post series of at least three parts, describing the
development process of
Milan,
the tool that created this nice clip fully automated, from a script, in a CI
Job on a headless server.
Warning: In this post, I showcase initial attempts at video capturing, occasionally resulting in pronounced flickering and flashing light.
The Problem
When demonstrating a complex user interface to users or stakeholders, a short video clip can be very helpful. A video with a moving cursor is just easier to grasp than instructions like "Go to Preferences, open the first tab, scroll down the page to the bottom, check the checkbox, and click on 'Wow! This is tedious to read'".
Also, a nice, visual presentation can be a powerful marketing tool.
Previously, I created all clips of the
demos
in the Lona documentation by hand. This is a time-consuming process, and it
also doesn’t scale.
Lona has around 10 demo clips currently, which take me around 5-10 minutes
each to regenerate when the demos change. For now, that is annoying but
doable, but let's say you have to maintain hundreds of clips and screenshots
of your application for documentation purposes.
Whenever your web design undergoes changes, you'll need to redo all the clips
each time.
If possible, I would want that to be automated in a way that it can run in
CI. Then I could run the CI job on every pull request and make sure they
don’t break the demos. And if they actually impact the demos, for example
when a button gets visually moved, the clips would be updated automatically.
Testing and documenting in one step!
And before you ask: Yes I invested around 200 hours of work, into a tool that
could automate a potential task, that would take around an hour, on a
specific occasion that never happened yet.
We are off to a good start here ;-)
First Steps
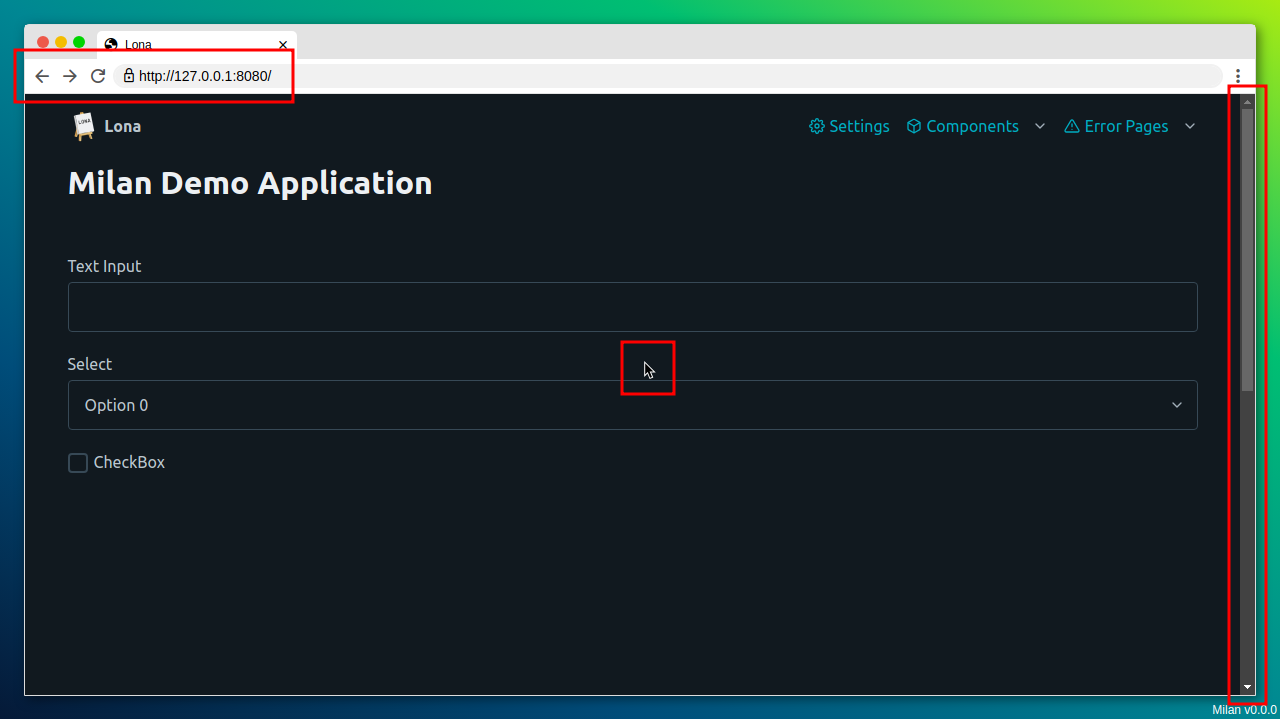
First I created a simple demo application using my favorite web-framework
Lona.
It's a simple interface with a form and a popup.
I use Playwright for
browser tests primarily and it already has a video-capturing feature.
So, to not reinvent the full wheel here, I started by using a Playwright
script that fills out the form and opens and closes the popup, capturing the
whole process.

If you look closely, the script does exactly what it should, but it is way too fast and you can't see where it is clicking because there is no cursor or any other indication on what the script is doing.
Adding a Cursor
Ok, I need a cursor to see what is going on, but there is actually no easy way to add a real cursor to the video. On your computer, the cursor is painted by the operating system. On linux that means it is managed by X11 or wayland. I am running a headless browser, possibly in a CI job, so I don’t have either of those. I could start a virtual X-server, using something like xvfb, but that looks like a lot of external dependencies and infrastructure to me. Up to this point, the whole setup was a simple Python script, and if possible I wanted to keep it that way.
Actually, I don’t need a real cursor. I need something that looks like a real cursor. And since I am using a modern browser, and Playwright can run JavaScript from its Python API, I have a big toolbox to use.
The idea is pretty simple: I create a convincing cursor, using an SVG from https://cursor.in and some CSS, from a JavaScript snippet. I inject the snippet into the browser using playwright's evaluate function. After that, instead of using playwrights click function, which dispatches a click event directly to the browser, I move my mocked cursor over to the element I want to click, play a simple “click” animation, and then dispatch a click event, adding a few delays to make it more human-like.
// cursor.js
// This snippet gets injected into the browser

(() => {
  const CURSOR_SVG_SOURCE = '[SVG SOURCE]';  // https://cursor.in/

  class Cursor {
    constructor() {
      // 1. create a SVG element of `CURSOR_SVG_SOURCE`
      // 2. append SVG Element to `document.body'
    }

    async click = (selector) => {
      // 1. wait for element for to appear
      // 2. scroll element into view if necessary
      // 3. sleep
      // 4. move cursor SVG element to coordinates of elementOrSelector
      // 5. sleep
      // 6. play click animation
      // 7. run `element.click()`
      // 8. sleep
    };
  }

  // create a global Cursor object
  window['milan'] = {
    cursor: new Cursor(),
  };

})();
from playwright.async_api import async_playwright


async with async_playwright() as playwright:

    # setup playwright browser
    browser = await playwright.chromium.launch()

    browser_context = await browser.new_context(
        record_video_dir='/tmp/videos/',
    )

    page = await browser_context.new_page()

    # load demo page
    await page.goto('http://localhost:8080/')

    # inject cursor source into browser page
    cursor_js_source = open('cursor.js', 'r').read()

    await page.evaluate(cursor_js_source)

    # click a button with the selector '#button'
    await page.evaluate("""
      await window.cursor.click('#button');
    """)

    # save video clip
    await page.video.save_as(f'demo.mp4')

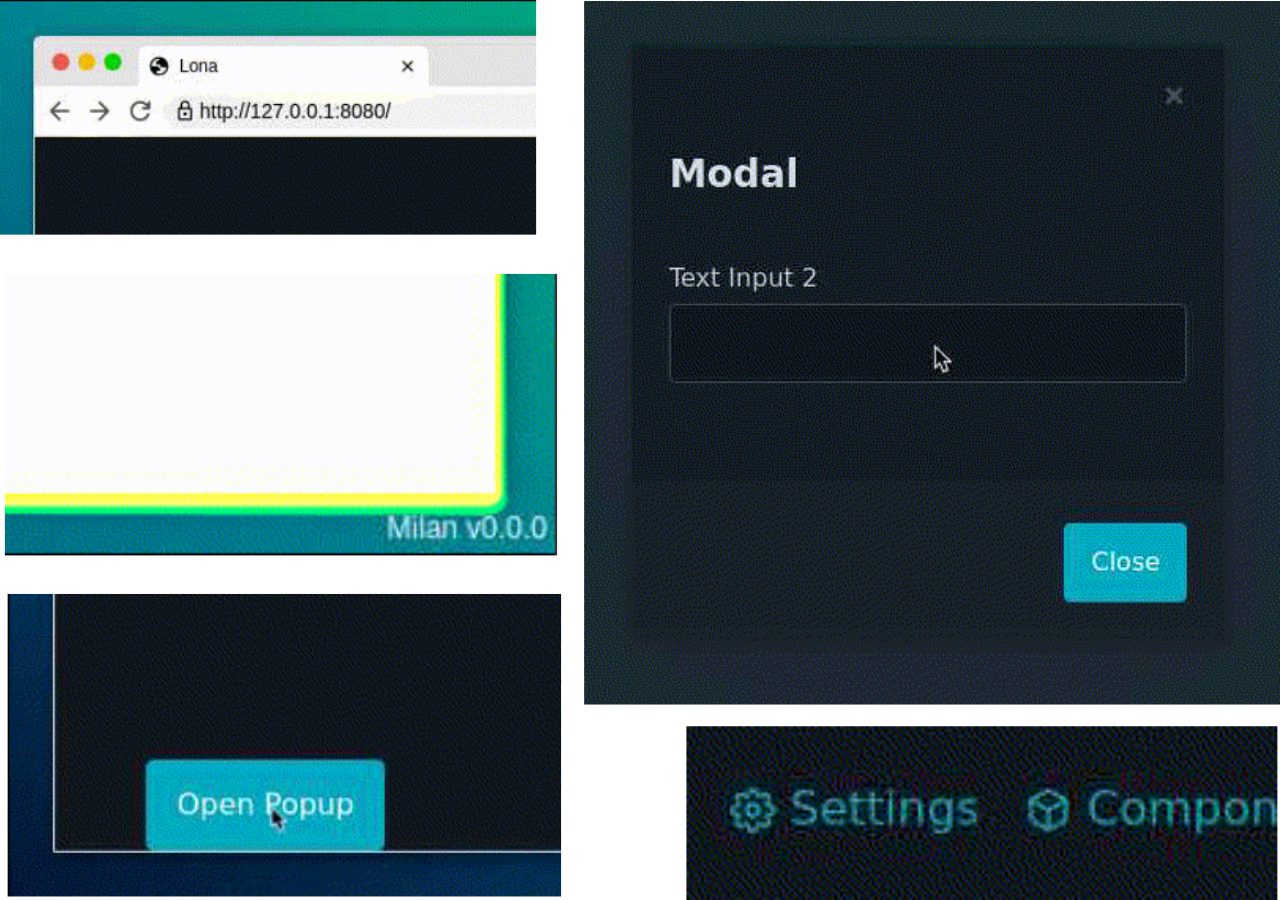
Much better! For debugging this is already pretty usable. It is still not ideal for demos though, because I only capture the content of a browser, not a browser window. Most end-users have never seen a website outside a browser (at least not knowingly), so it is not obvious that I show them a web demo. Also, there is no address bar or any other indication of which URL the browser is currently on.
Adding Browser Windows
Similarly to the cursor, I need something that looks and behaves like a browser window. To test/demo everything a user could do on my application I need:
- An address bar to show and set the URL
- At least one tab to show the current page title and favicon
- Buttons for history forward, history backward, and page reload
- A scrollbar to indicate where the browser scrolled to on the current page
- A "wallpaper" to have more contrast between the "browser" and the rest of the page, when embedding a screenshot into a documentation page
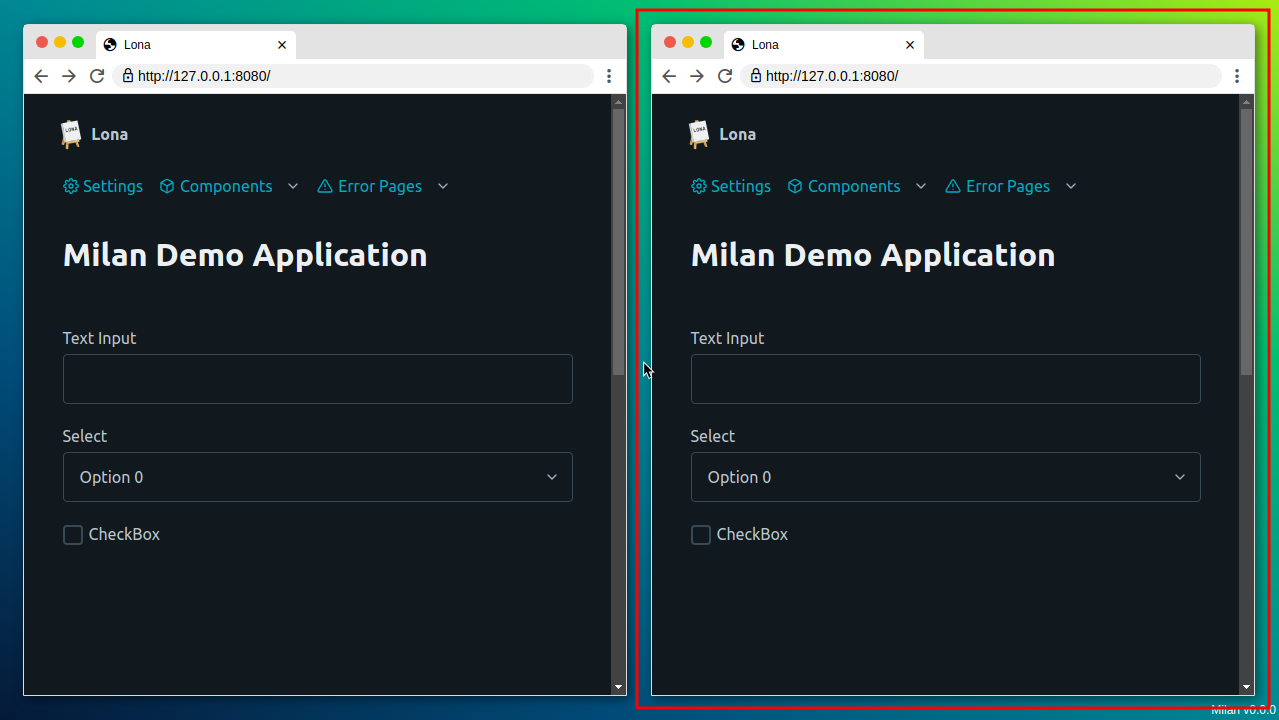
 Also, I need multi-window support because most of the applications I test/demo
have some multi-user aspect to them.
Also, I need multi-window support because most of the applications I test/demo
have some multi-user aspect to them.
For lack of a better term, I will call the browser-window-and-cursor-part of the project "frontend". Technically that is not entirely correct because this "frontend" also has a Python "backend", because it needs a server to interact with and to be served from. But since it contains all parts that run in the browser, instead of around it, I think it’s fitting enough.
I don’t like unnecessary dependencies and I like doing things from scratch.
So I decided to implement the frontend in vanilla HTML, JavaScript, and CSS.
Since implementing a browser window in a browser is a rather unusual use
case, there are not many preexisting tools or libraries to choose
from anyway.
The only dependencies I added were some assets and fonts.
The browser windows are actually pretty simple: they consist of a plain
iframe
element and some nice window decorations with a bit JavaScript magic, to make
the iframe behave like a real browser. For example, the address bar is just a
fancy text input that has a change handler that resets the iframes src
attribute, and the iframe pushes changes of the same attribute back to the
address bar.
The iframe API already implements functions for reloading and going forward
and backward through the history, so it was just a matter of tweaking the CSS
until I ended up with something that looked like a convincing browser window.
I needed a way to place multiple windows efficiently, so I pretty much implemented a tiling window manager with support for up to four windows. The first window takes the whole “desktop”. For the second one the desktop gets split evenly vertically, and for the last two windows both vertical columns get split horizontally, starting with the right one, so the splitting is clock-wise.
Since my frontend has a "cursor" that can dispatch real click events, the fake browsers react to real cursor and keyboard events. That is very helpful for debugging the frontend itself because it means you can open the frontend in your real browser and control the fake browser as you would expect.

I am very happy with the results, and this part of the project was much easier than I anticipated. It is not much code either. cloc reports 190 lines of HTML, 306 lines of CSS, and 796 lines of JavaScript.
Problems with Playwrights Video Capturing
I still used Playwrights built-in video capturing up to this point, and unfortunately, the quality of the resulting videos was not great.
The frontend has a certain loading time to it, which is not that noticeable on my i7 laptop, but it sure is when running in a small container in CI. The problem is that the Playwright API does not let you start and stop the video capturing by yourself. You can only start a Playwright browser in capturing mode, and get a fully rendered video after you shut down the browser. So the video will always contain all loading stages, resulting in a white flash at the beginning of the video in my case.
Playwright also does not support rendering videos as GIFs. Since I want to use the clips for documentation purposes, and GitHub readmes don’t really support real videos, GIFs would be very nice to have.
I tried to fix both problems using MoviePy and ImageMagick. I added some code to the frontend that turned the whole page green for a second after setup, as a visual marker that the important part of the video is about to start. Then I wrote a MoviePy script to cut the video after the last green frame. Then I used ImageMagick to convert the cut video to a GIF.
The results were horrible! I mean, it worked, but the clips were not presentable, which is unfortunate, because that is the whole point of the project.
The new clips had all the problems you can think of: compression artifacts, unstable framerates, flickering, and color conversion issues. The clips were also pretty big in file size (that is why I did not embed the GIF into this page). Also, the video processing, using three tools in total, took a lot of time. Sometimes several minutes.
Unfortunately, the raw Playwright videos already have compression and framerate problems to begin with. Playwright uses a protocol called CDP to control the browser. When using Playwright Chrome, Playwright does video capturing by sending a request to the browser, saying “Send me every frame that gets rendered by your rendering engine”. Chrome then starts to send image frames, encoded as base64 encoded JPEGs, over the CDP protocol. Playwright then combines all frames into a video, using FFmpeg.
In general, this is not a bad design, and FFmpeg is exactly the right tool for that. My problem is that the settings for the frames, send over the wire, and the settings for FFmpeg, are not geared towards video quality, but towards small video sizes and fast capturing. After all, the capturing feature in Playwright is not meant for video production, but for debugging failed tests.
Implementing My Own Browser Testing Framework
We finally reached the headline topic of this post! Considering all the problems I had with Playwright, and because what I tried to do here is out of scope for the Playwright project, I decided to implement my own browser testing framework, with similar features to Playwright, but with a focus on high-quality video production.
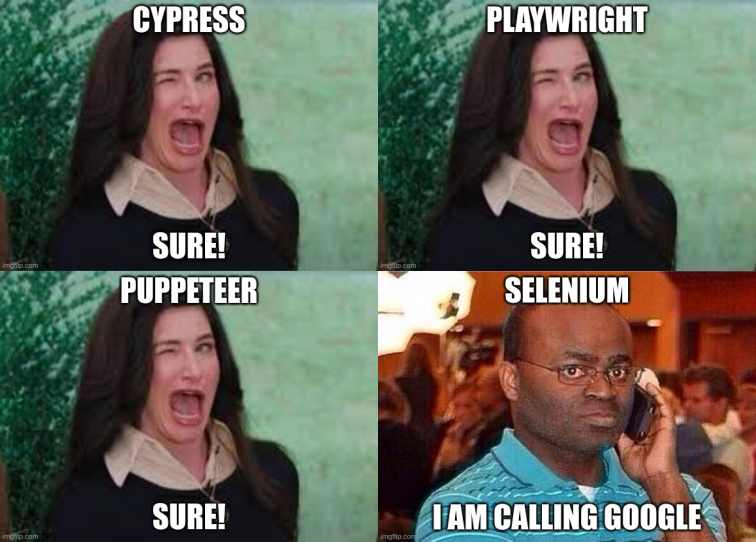
The first things I needed were binaries of the three major browsers (Chrome, Firefox, Webkit) and a way to start and control them headlessly. There are three major tool stacks to choose from:
Webdriver is the oldest standard of the three and has a reputation for being
cumbersome to use. Also, it implements a unidirectional protocol, which means
live updates from the browser are not possible.
Webdriver BiDi is the successor to Webdriver and implements an async protocol
to solve this exact issue, but the specification from the W3C is still a
draft. Hence no one but Selenium is using it yet, as far as I know.
Most browser testing frameworks I looked into use CDP. The interesting thing about CDP is that it is not meant for testing at all. Google created CDP as the protocol between the Chrome Inspector and the Chrome Browser (hence the name). Because the Chrome Inspector needs to be very powerful to debug web applications in a meaningful way, the protocol itself needs to be very powerful. Pretty much everything you can do from the Chrome GUI, you can also do using this protocol.
Sooo… CDP maybe?
Many browsers provide “DevTools” – a set of tools that are integrated with the browser that developers can use to debug web apps and explore the performance of their pages. Google Chrome’s DevTools make use of a protocol called the Chrome DevTools Protocol (or “CDP” for short). As the name suggests, this is not designed for testing, nor to have a stable API, so functionality is highly dependent on the version of the browser. Selenium Documentation
Hm. But all the cool people are using it! Despite all warnings, I chose to use CDP as a starting point. Playwright ships CDP-ready binaries of Chrome, Firefox, and Webkit, and using the same protocol as Playwright meant that I could read the Playwright code, whenever I got stuck.
Think twice before using CDP directly for browser automation. You'll be better off with Playwright.
Not convinced? At least use Puppeteer's CDPSession. Getting Started with CDP
Yeah sure, as if that would stop me now ;-)
Implementing a CDP Client
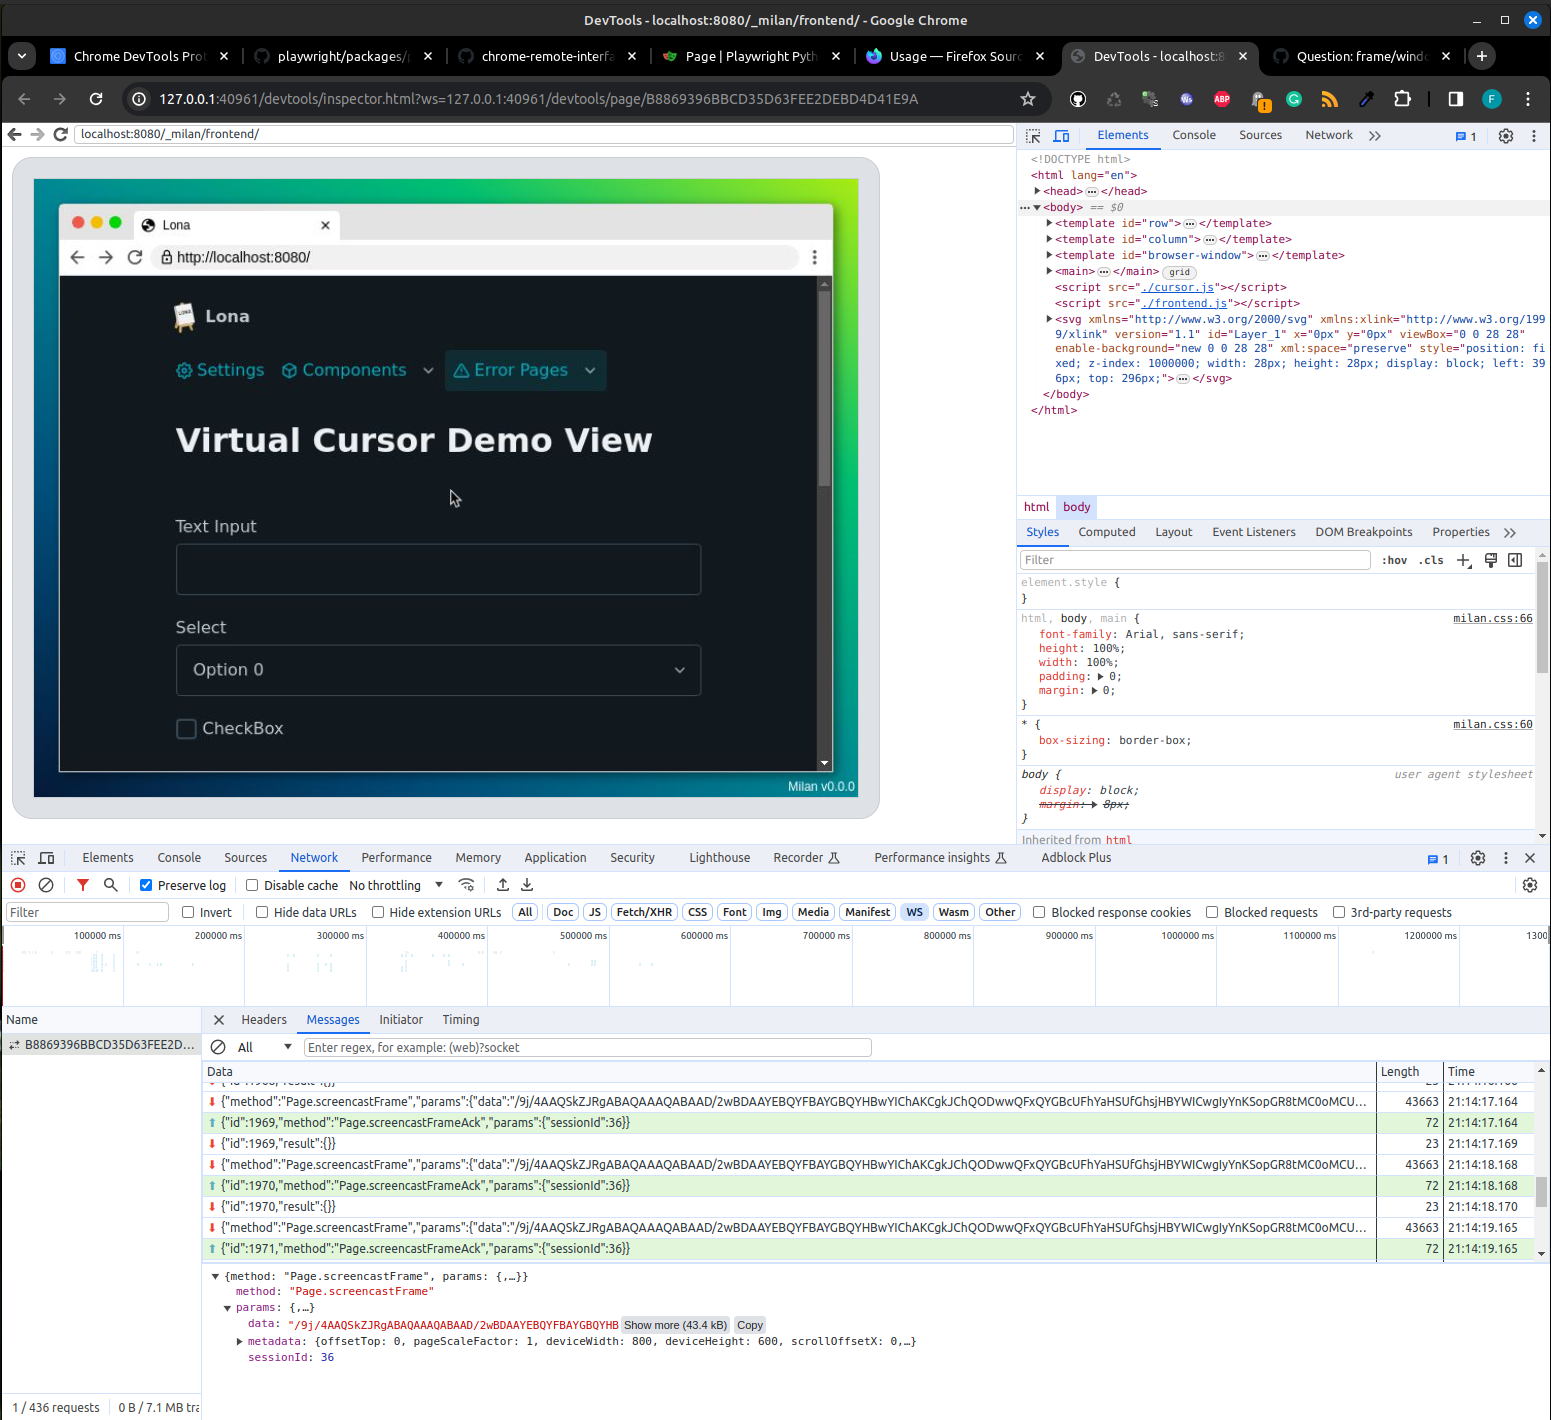
CDP is a very easy protocol to implement. It is based on JSON-RPC 1.0 and gets spoken over a simple websocket connection. That means you can plug your Wireshark between a Playwright script and a Playwright browser and find out which API calls cause which CDP messages.

Also, because the Chrome Inspector not only speaks CDP, but also is a web
application itself, you can run a Chrome Inspector on a Chrome Inspector, to
inspect a fake browser in the real browser.
It's like in that movie with Leonardo DiCaprio (not the one with the ship).
It sounds stupid when you say it out loud, but it helped a lot!
After a few nights of reading the CDP specification and some reverse engineering of Playwright, I had a working CDP client that implemented all the features I needed:
- Starting and Stopping of a Browser (with GUI and headless)
- Going to a URL
- Evaluating JavaScript
- Changing the Window Resolution
- Screenshots

FFmpeg Based Video Capturing
The last important bit is video capturing, which I implemented very similar to what Playwright does, but with some tweaks to increase the quality of the clips.
The basic idea is the same: First, I start FFmpeg and tell it to read images from its stdin. Then I send the CDP message Page.startScreencast to the browser which then starts to send screencastFrame events for every rendered frame. Whenever I get a new frame, I write it into the stdin of FFmpeg, and when the browser stops, or capturing gets disabled, I close FFmpeg’s stdin, which causes it to render all received images into a video file.
There are two bits of optimization I did here:
The Page.startScreencast method accepts an image format, which is set to JPEG by Playwright (hence the compression artifacts). To get rid of the artifacts I set this value to PNG, which uses lossless compression.
The browser does not send a specific number frames per second, it sends every
frame that falls out of the rendering engine. That means that you could get
120fps when the browser plays an animation, and 0fps when it views a static
web page that does not move and does not require re-rendering.
That means you need some kind of frame buffering to either repeat or drop
frames, to hit 24fps for a smooth video.
Playwright does that in its TypeScript code by sleeping and rewriting frames,
which causes the unstable framerates.
FFmpeg has a feature called use wallclock time, which has the same effect but is much more reliable and stable (you can't beat FFmpeg on something like this).
import subprocess
import base64


class VideoRecorder:
    def start_recording(self, output_path):
        self.ffmpeg_process = subprocess.Popen(
            command=[
                '/usr/bin/ffmpeg',

                '-y',   # override existing files if needed
                '-an',  # disable audio

                # We feed images without timestamps into FFmpeg. This tells
                # FFmpeg to use the wall clock instead to stabilize
                # the framerate.
                '-use_wallclock_as_timestamps', '1',

                # input: read images from the stdin
                '-f', 'image2pipe',
                '-i', '-',

                # output: webm
                '-f', 'webm',             # format
                '-c:v', 'libvpx-vp9',     # codec
                '-vf', 'format=yuv420p',  # filter
                '-r', '24',               # framerate

                # output: path
                output_path
            ],
        )

    def stop_recording(self):
        # close FFmpegs stdin and wait for the process to end
        self.ffmpeg_process.stdin.close()
        self.ffmpeg_process.wait()

    def write_frame(self, cdp_frame):
        # incoming frames are base 64 encoded
        image_data = base64.b64decode(cdp_frame.encode('ascii'))

        # write frame data into the stdin of FFmpeg
        self.ffmpeg_process.stdin.write(image_data)
To be clear, that is also not ideal either and has some of the same problems as Playwrights solution, but it is much more reliable and results in a steady framerate.
In the future, I want to use frames with timing information attached to them, to eliminate these problems entirely.
Conclusion
And that’s it! At least for now, and for this early prototype. It took more time than I thought, but it turned out better than I hoped.
There is still a lot to do! For now, only Chrome is fully supported. In Firefox I got all features, besides the video capturing, working. Unfortunately, Firefox does not implement the Page.startScreencast method.
Webkit does not work at all for now. The Playwright Webkit browser does not implement CDP over websockets, but over debugging-pipes, which is a special browser feature. This one is hard! I have a whole blog post coming, only about getting debugging-pipes to work.
Thanks for reading, and stay tuned for the next entry in this series!